Picture this: it’s a rainy Thursday, the kind where the clouds look like they’re about to spill their secrets, and you’re stuck in a kitchen that smells like burnt toast from a failed pancake experiment earlier that day. I was nursing a half‑finished batch of brownies, feeling the weight of disappointment, when a daring friend texted, “I bet you can’t make a dessert that oozes like a volcano and still looks elegant on a plate.” I laughed, rolled up my sleeves, and whispered to the empty room, “Challenge accepted.” The result? A molten‑center chocolate lava cake that turned my kitchen mishap into a triumph, and trust me, I dare you to taste this and not go back for seconds.
The moment the batter hits the ramekin, the kitchen transforms. You hear the faint sizzle as butter meets chocolate, a buttery perfume that wraps the room like a warm blanket, while the glossy batter glistens under the fluorescent lights like a midnight lake. Your fingertips feel the smooth, almost buttery texture of melted chocolate, and the anticipation builds as the oven door closes with a soft thud. As the timer ticks down, a faint caramelized aroma begins to rise, teasing your nose with promises of richness, while the heat radiates a comforting warmth that makes you want to curl up with a spoon.
What makes this version the ultimate lava cake isn’t just the ingredients—it’s the method, the timing, and a few secret tricks that most recipes completely miss. Most recipes get the ratio of chocolate to butter wrong, leaving you with a cake that’s either dry or too runny. I’ve discovered that a precise melt‑and‑whisk technique, combined with a quick chill before baking, creates a crust that snaps like thin ice while the interior stays molten, velvety, and unapologetically indulgent. And there’s a surprise ingredient—espresso powder—that amplifies the chocolate flavor without tasting like coffee.
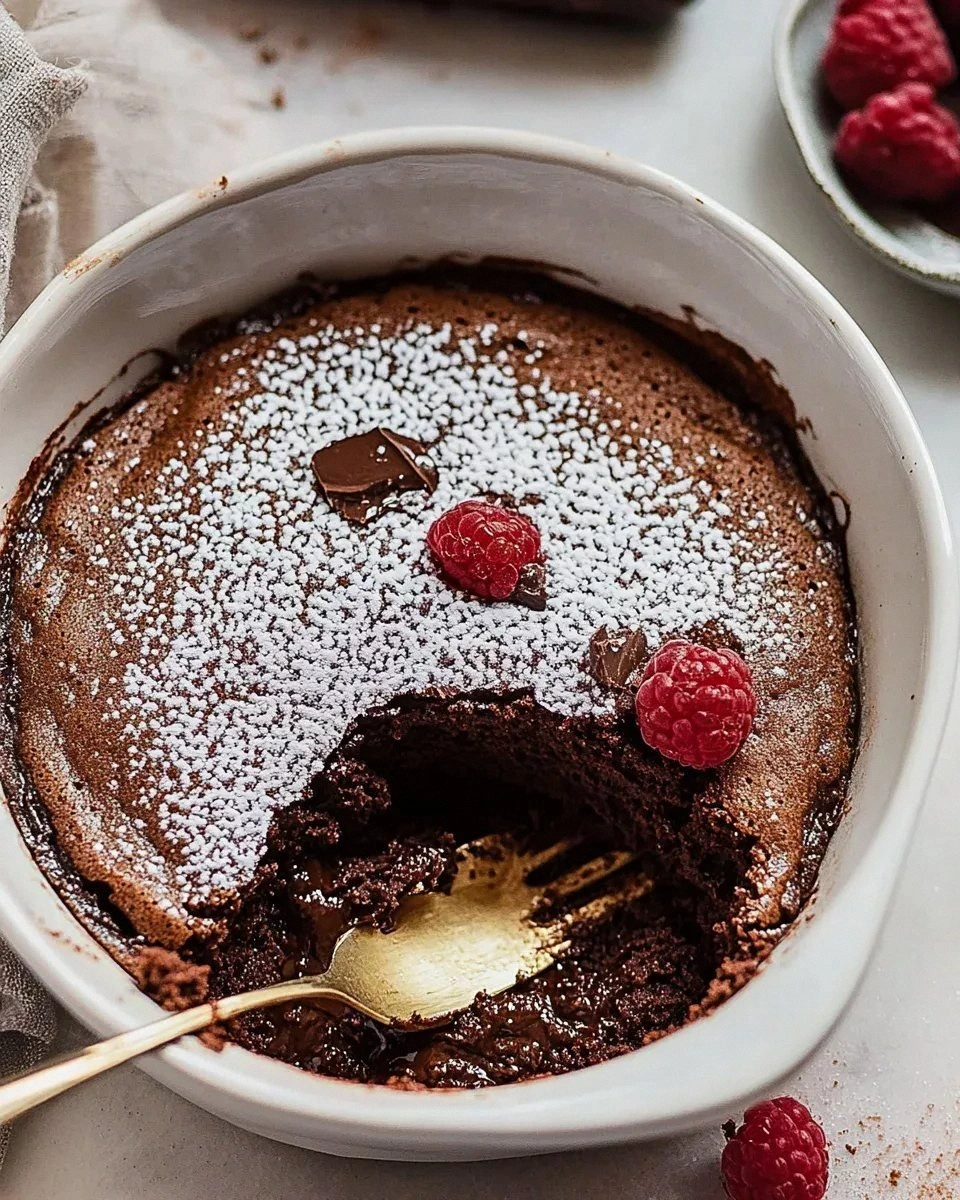
Now, imagine pulling the ramekin out of the oven, the edges pulling away just enough to reveal a glossy, dark crown, and then, with a gentle tap, the center erupts like a chocolate fountain onto a scoop of vanilla bean ice cream. Picture yourself serving this masterpiece at a dinner party, watching guests gasp, eyes widening, and then diving in with forks that disappear into the lava. Okay, ready for the game‑changer? Let me walk you through every single step — by the end, you’ll wonder how you ever made it any other way.
What Makes This Version Stand Out
- Flavor Explosion: The combination of high‑percentage dark chocolate and a pinch of espresso powder creates a depth that feels like a midnight truffle, rich yet balanced.
- Texture Contrast: A crisp, buttery crust gives way to a molten, silky interior that flows like lava, delivering a dual‑sensory experience in every bite.
- Simplicity: Only ten staple ingredients, all pantry‑friendly, mean you can whip this up without a trip to a specialty store.
- Unique Twist: A quick chill of the batter before baking locks in the molten center, a secret most recipes overlook.
- Crowd Reaction: Guests often claim they’ve never tasted anything like it, making it the perfect show‑stopper for any occasion.
- Ingredient Quality: Using 70%+ cacao chocolate ensures a balanced bitterness that cuts through the sweetness, preventing cloying overload.
- Cooking Method: Baking in a water‑bath (bain‑marie) guarantees even heat distribution, preventing over‑cooking the edges while the core stays molten.
- Make‑Ahead Potential: You can prep the batter a day ahead, refrigerate, and bake fresh when guests arrive—pure convenience.
Inside the Ingredient List
The Flavor Base
Dark chocolate (200 g) is the heart of this lava cake. It provides the deep, bittersweet backbone that makes the molten center unforgettable. If you substitute milk chocolate, you’ll lose that sophisticated edge and end up with a sugary puddle. Look for chocolate with at least 70% cacao; the higher the percentage, the richer the flavor. When buying, break off a piece and let it melt in your mouth—if it feels smooth, you’ve got quality.
The Texture Crew
Unsalted butter (100 g) adds richness and creates that buttery crust that cracks just right. Using salted butter will throw off the delicate balance, so keep it unsalted and add a pinch of salt later. The combination of granulated sugar (½ cup) and brown sugar (¼ cup) gives both crispness and a caramel note; the brown sugar’s molasses deepens the flavor. Eggs and extra yolks (3 + 3) act as emulsifiers, binding the chocolate and butter while also providing lift—skip them, and you’ll end up with a dense brownie, not a lava cake.
The Unexpected Star
Espresso powder (½ tsp) is the secret weapon. It intensifies chocolate without imparting a coffee taste, acting like a flavor amplifier. If you don’t have espresso powder, a splash of strong brewed coffee works, but keep it under a tablespoon to avoid soggy batter. Vanilla extract (1 tsp) rounds out the flavor, adding a subtle sweet aroma that lifts the overall profile.
The Final Flourish
All‑purpose flour (¼ cup) and cocoa powder (2 tbsp) give structure without weighing the cake down. The flour creates a thin skin that snaps, while the cocoa powder deepens the chocolate hue, making the final presentation Instagram‑ready. A pinch of salt (0 g) enhances all the sweet notes and balances the bitterness. Skipping the salt is a rookie mistake; the cake will taste flat.
Everything’s prepped? Good. Let’s get into the real action…
The Method — Step by Step
Preheat your oven to 425°F (220°C) and place a rack in the middle. While the oven warms, set a large saucepan over low heat and add the dark chocolate and butter. Stir constantly; you’ll hear a gentle sigh as the mixture becomes a glossy, dark pool. Once fully melted, remove from heat and let it rest for exactly two minutes—this is the moment where the mixture cools just enough to protect the eggs from curdling.
In a separate bowl, whisk together the granulated sugar, brown sugar, and eggs until the mixture turns pale and thick, about 2 minutes. Then whisk in the extra yolks and vanilla extract, creating a ribbon‑like texture that falls back into the bowl slowly. This is the moment of truth: slowly pour the slightly cooled chocolate into the egg mixture while whisking continuously. The batter should look silky, with no lumps, and emit a faint, intoxicating aroma.
Kitchen Hack: Use a silicone spatula to scrape the sides of the bowl; this ensures every last drop of chocolate joins the batter, guaranteeing consistent molten centers.Fold in the flour and cocoa powder gently with a rubber spatula. The batter should stay glossy and thick; avoid over‑mixing, or you’ll develop gluten, which makes the cake chewy instead of tender. Once incorporated, cover the bowl with plastic wrap and chill in the refrigerator for at least 30 minutes. This chilling step is the secret that locks the interior’s liquid state while the exterior firms just enough to create that coveted crust.
While the batter chills, butter four 6‑ounce ramekins generously, then dust each with a thin layer of cocoa powder, tapping out any excess. The cocoa dust not only prevents sticking but also adds an extra chocolatey bite to the outer crust. Place the ramekins on a baking sheet; this makes it easy to slide them in and out of the oven without juggling hot pans.
Remove the batter from the fridge and give it a quick stir—don’t over‑whisk. Spoon the batter into the prepared ramekins, filling each about three‑quarters full.
Watch Out: Do not overfill! If the batter is too close to the rim, the lava may overflow, creating a mess and losing that dramatic oozing effect.Set the baking sheet with ramekins into a larger pan and pour hot water into the larger pan until it reaches halfway up the sides of the ramekins. This bain‑marie ensures gentle, uniform heat, preventing the outer edges from over‑cooking while the center stays liquid. Bake for 12‑14 minutes; you’ll know they’re done when the edges are set and have a slight golden hue, but the center still jiggles like a wobbling gelatin.
Remove the ramekins from the water bath and place them on a cooling rack for 2 minutes. Then, using a thin, flexible knife, run it around the edge to loosen the cake.
Kitchen Hack: Invert the ramekin onto a warm plate; a quick 5‑second press on the bottom helps the cake release without breaking the crust.Serve immediately—this is the part where you see the lava cascade onto the plate or onto a scoop of vanilla ice cream. The aroma at this moment is intoxicating, a mix of molten chocolate, buttery caramel, and a whisper of espresso. Pair with a glass of chilled port or a bold espresso for an indulgent finish. And now the fun part: watch your guests’ faces light up as they dig in.
If you have leftovers (which I doubt you’ll have), let them cool completely, then store as described later. Remember, the magic lies in the timing; reheating too long will solidify the lava, turning it into a regular brownie. A quick 30‑second zap in the microwave with a splash of water revives the flow.
That’s it — you did it. But hold on, I’ve got a few more tricks that’ll take this to another level…
Insider Tricks for Flawless Results
The Temperature Rule Nobody Follows
Most home bakers set the oven to “high” and hope for the best. The truth is, a precise 425°F (220°C) is crucial; any lower and the crust won’t form, any higher and the edges burn before the center liquefies. Use an oven thermometer—those built‑in dials can be off by 15‑20 degrees. I once baked at 450°F, and the result was a charred ring with a barely‑melted center. Trust the thermometer, and you’ll get that perfect snap‑and‑flow contrast every time.
Why Your Nose Knows Best
Don’t rely solely on a timer. The real indicator that the lava cake is ready is the scent. When the butter‑chocolate aroma becomes nutty and slightly caramelized, you’re on the right track. If you smell a burnt sugar note, pull them out immediately—over‑baking is the fastest way to ruin the molten center. Trust your nose; it’s the most reliable kitchen sensor.
The 5‑Minute Rest That Changes Everything
After baking, let the ramekins rest for exactly five minutes before unmolding. This short pause lets the interior settle just enough to hold its shape while still staying liquid. Skipping this rest results in a splashy mess when you flip the cake, and nobody wants chocolate on the ceiling. Five minutes is the sweet spot—long enough for stability, short enough to keep the lava flowing.
Butter vs. Oil: The Great Debate
Some recipes suggest swapping butter for oil to make the batter more fluid. While oil does create a smoother batter, it strips away the buttery crust that gives the cake its signature snap. I tried oil once, and the result was a soggy, uniform cake—no contrast, no drama. Stick with butter for that crisp edge; it’s the secret to the “lava” effect.
Serving with a Twist
Instead of the usual vanilla ice cream, try a dollop of lightly sweetened mascarpone or a spoonful of salted caramel sauce. The salty‑sweet combination accentuates the chocolate’s bitterness, creating a flavor harmony that feels like a culinary hug. If you’re feeling adventurous, sprinkle a pinch of flaky sea salt on top right before serving; the tiny crystals pop against the silky chocolate, adding a surprising crunch.
Creative Twists and Variations
This recipe is a playground. Here are some of my favorite ways to switch things up:
Spicy Chili Chocolate
Add a pinch of cayenne pepper or a dash of chipotle powder to the batter. The heat amplifies the chocolate’s depth, creating a warm, lingering finish that’s perfect for chilly evenings. Pair with a scoop of cinnamon ice cream for an extra layer of comfort.
Nutty Crunch
Stir in a tablespoon of toasted chopped hazelnuts or almonds just before chilling the batter. The nuts add a delightful crunch that contrasts the smooth lava, and their natural oils enhance the chocolate’s richness. This variation is a hit with anyone who loves texture.
Berry Burst
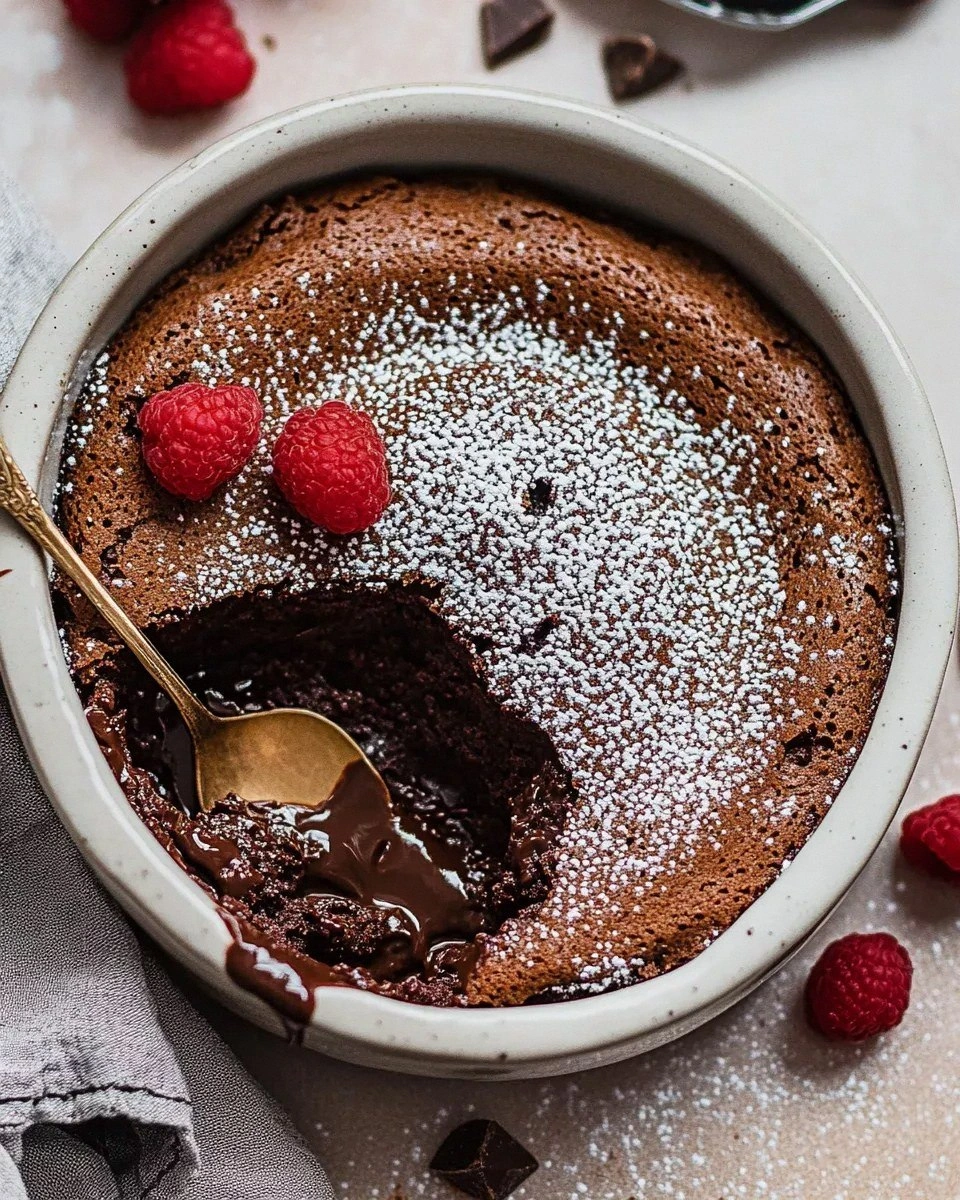
Press a few fresh raspberries or blackberry halves into the center of each ramekin before baking. As the cake cooks, the berries soften and release a tangy juice that melds with the chocolate, offering a bright, fruity counterpoint. It looks gorgeous on the plate, too.
White Chocolate Lava
Swap half of the dark chocolate for high‑quality white chocolate and add a teaspoon of orange zest. The citrus lifts the sweetness, while the white chocolate adds a buttery creaminess that feels luxurious. This version is perfect for brunches.
Alcohol‑Infused
Mix a tablespoon of bourbon, dark rum, or a splash of coffee liqueur into the melted chocolate. The alcohol evaporates slightly during baking, leaving behind a subtle depth that feels sophisticated without being overpowering. Just remember to keep the flame low—no flambé needed.
Storing and Bringing It Back to Life
Fridge Storage
Allow the baked lava cakes to cool completely, then cover each ramekin tightly with plastic wrap. They’ll keep in the refrigerator for up to 3 days. When you’re ready to serve, reheat in a preheated 350°F (175°C) oven for about 8 minutes; the edges will firm while the center stays molten.
Freezer Friendly
Unbaked batter can be frozen for up to 2 weeks. Portion the batter into greased ramekins, cover with foil, and freeze solid. When you’re ready, bake directly from frozen, adding an extra 2‑3 minutes to the baking time. This makes impromptu dessert parties a breeze.
Best Reheating Method
To revive a leftover, place the ramekin on a microwave‑safe plate, add a teaspoon of water around the edges, and heat for 30‑45 seconds. The water creates steam that gently melts the interior without drying out the crust. Alternatively, a quick 5‑minute blast in a 300°F oven works wonders if you prefer oven reheating.