Picture this: I’m in my cramped kitchen, the oven timer ticking, a sizzling pan on the stove, and a sudden realization that the chicken I’ve been marinating for hours has gone from “almost perfect” to “a slightly charred mystery.” I tried to salvage it by slapping on a generous spoonful of BBQ sauce, but the result was a soggy, flavorless mess that made me question every culinary decision I had made that week. I laughed, because if there’s one thing I’ve learned, it’s that kitchen disasters can be the best teachers. They force you to think, improvise, and sometimes, discover a new favorite recipe.
That night, I decided to give the “BBQ Ranch Chicken Thighs” a shot. I thought, what if I combined the smoky heat of BBQ with the creamy, herbaceous punch of ranch? The idea felt like a promise of comfort and adventure all rolled into one. I could already taste the buttery crust, the tender meat, and the tangy ranch that would cut through the sweetness of the sauce. The aroma that would fill the kitchen would be a siren call to everyone in the house. I was about to write a new chapter in my cooking diary.
What makes this version stand out is not just the flavor profile, but the way every element is orchestrated to deliver a dish that feels both indulgent and approachable. I’m talking about a sauce that coats the chicken like velvet, a crust that snaps like thin ice, and a seasoning blend that whispers rather than shouts. Most recipes get this completely wrong by over‑browning the meat or under‑seasoning the sauce. Here, the balance is meticulous: the heat of the BBQ is tempered by the coolness of ranch, and the meat remains juicy, not dry.
There’s a particular technique that will blow your mind: a quick sear in a cast‑iron skillet, followed by a slow finish in the oven with a splash of water. This method locks in juices and creates a caramelized exterior that’s both crisp and flavorful. I dare you to taste this and not go back for seconds. Picture yourself pulling this out of the oven, the whole kitchen smelling incredible, and the first bite sending a wave of satisfaction through your palate. Let me walk you through every single step — by the end, you’ll wonder how you ever made it any other way.
What Makes This Version Stand Out
- Taste: The marriage of smoky BBQ and fresh ranch creates a layered flavor profile that sings on the tongue. The sweetness of the sauce is balanced by the sharpness of the ranch, preventing any single element from overpowering the other.
- Texture: A perfectly seared crust gives way to a melt‑in‑your‑mouth interior, while the sauce remains silky rather than syrupy.
- Ease: With only ten minutes of active prep and a single oven, this dish fits into even the busiest schedules.
- Uniqueness: The addition of a quick water splash during roasting keeps the meat tender, a trick rarely mentioned in other recipes.
- Crowd‑pleaser: Friends who have tried dozens of chicken dishes will be amazed at how this one stands out.
- Ingredient Quality: Using high‑quality, fresh chicken thighs and a homemade ranch blend elevates the dish beyond store‑bought options.
- Method: The two‑step cooking process (sear then roast) is the secret to achieving both flavor and texture.
- Make‑ahead: The chicken can be marinated up to 24 hours in advance, making it ideal for weekend meal prep.
Inside the Ingredient List
The Flavor Base
At the heart of this dish lies the BBQ sauce, the one that gives everything its smoky, caramelized character. Choose a sauce that is not overly sweet; a balance of molasses and spices is key. If you prefer a homemade touch, simmer equal parts ketchup, brown sugar, and apple cider vinegar with a splash of Worcestershire sauce until it thickens. Skipping the BBQ sauce would strip the dish of its signature depth, leaving the ranch flavor too isolated.
The Texture Crew
Chicken thighs are the star players in terms of texture. Their higher fat content ensures a juicy bite, while the skin adds a delightful crunch when seared. Using bone‑in, skin‑on thighs also helps retain moisture during the roasting phase. If you’re a fan of skinless options, be prepared to add a tablespoon of butter to the pan to compensate for the lost fat. The oil used for searing is crucial; olive oil works well, but a neutral oil like grapeseed keeps the flavor profile clean.
The Unexpected Star
Ranch dressing is not just a side; it’s a flavor transformer. The herbs—dill, parsley, and chives—infuse the sauce with a fresh, grassy note that cuts through the sweetness of the BBQ. A pinch of garlic powder and onion powder enhances the savory depth. If you’re craving a spicier kick, a dash of cayenne pepper can be added without overpowering the dish. Skipping the ranch would leave the dish one‑dimensional and less memorable.
The Final Flourish
Fresh parsley, chopped, is the finishing touch that adds a pop of color and a burst of herbal brightness. A squeeze of lemon at the end can brighten the flavors, especially if you’re serving it with a buttery coleslaw. For a touch of crunch, sprinkle toasted almonds or crushed tortilla chips on top before serving. Each of these small additions elevates the dish from good to unforgettable.
Everything’s prepped? Good. Let’s get into the real action…
The Method — Step by Step
- Preheat the oven to 400°F (200°C). While the oven is heating, pat the chicken thighs dry with paper towels. This step is essential for a good sear; moisture on the surface will steam instead of brown. I always let the thighs sit at room temperature for 10 minutes before cooking—this ensures even cooking.
- Season the chicken. In a bowl, combine the garlic powder, onion powder, smoked paprika, salt, and pepper. Toss the thighs in the mixture until each piece is evenly coated. This dry rub not only flavors the meat but also creates a beautiful crust when seared.
- Heat the skillet. Place a cast‑iron skillet over medium‑high heat and add the olive oil. Once the oil shimmers, add the thighs skin‑side down. Let them cook undisturbed for 5–6 minutes until the skin is a deep golden brown and releases easily from the pan. Flip the thighs and sear the other side for 3 minutes.
- Transfer to the oven. Place the skillet (or a baking sheet if you moved the thighs) in the preheated oven. Add a splash of water—just enough to cover the bottom of the pan—to keep the thighs moist. Roast for 20 minutes, or until the internal temperature reaches 165°F (74°C). The water will create a subtle steam that helps the meat stay juicy.
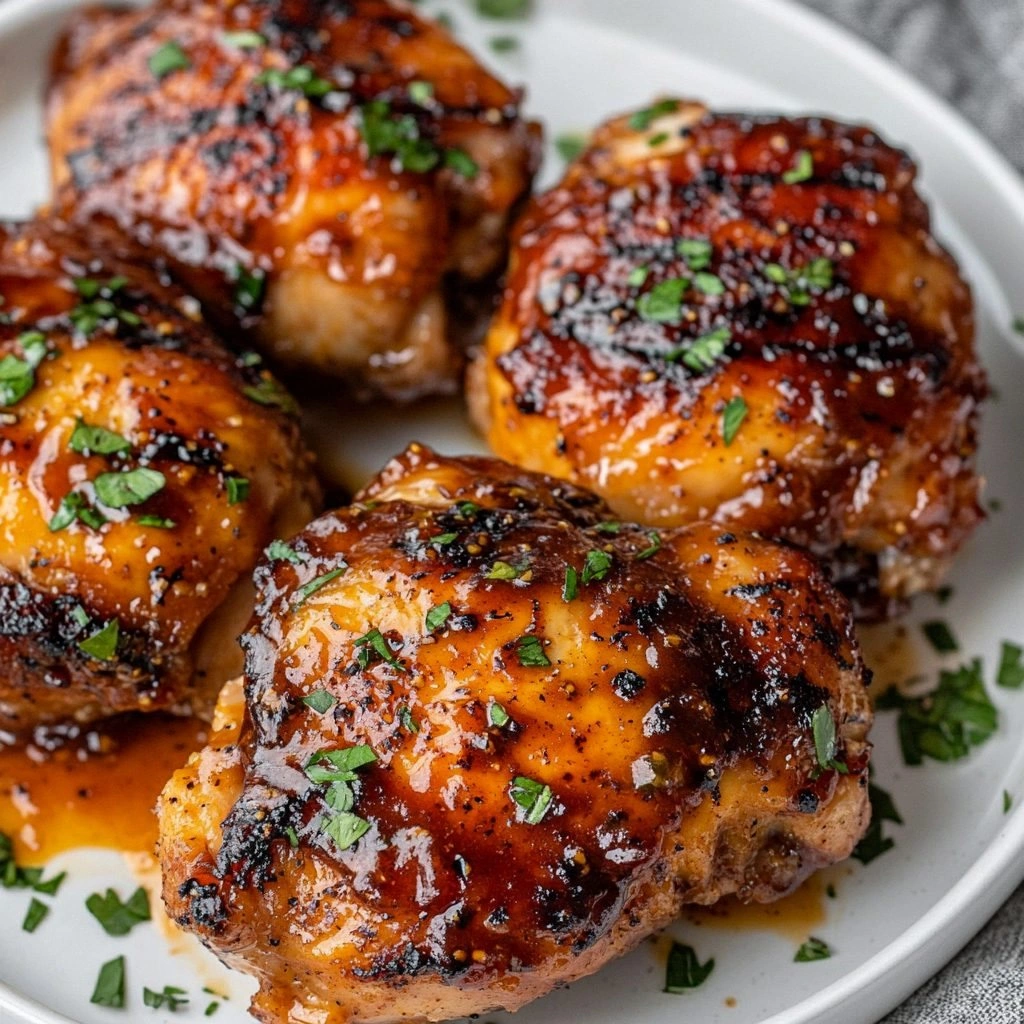
- Finish with sauce. Remove the skillet from the oven and brush each thigh with BBQ sauce. Return to the oven for an additional 5 minutes, allowing the sauce to caramelize without burning. The sauce should thicken slightly and develop a glossy sheen.
- Add ranch. While the chicken is still hot, drizzle the ranch dressing over the thighs. The heat will slightly melt the ranch, creating a creamy coating that clings to every nook and cranny. The contrast between the smoky BBQ and cool ranch is the dish’s signature.
- Garnish and serve. Sprinkle chopped parsley over the top for a pop of color and freshness. Serve immediately with your favorite sides—think coleslaw, corn on the cob, or a crisp green salad. The first bite should be a burst of smoky sweetness followed by a creamy, herbaceous finish that leaves you craving more.
That’s it—you did it. But hold on, I’ve got a few more tricks that will take this to another level…
Insider Tricks for Flawless Results
The Temperature Rule Nobody Follows
Many cooks set their oven to 350°F, assuming it’s safe for chicken. In reality, a higher temperature (400°F) is essential for a crisp skin and caramelized sauce. The quick sear locks in juices, while the oven finish ensures the meat stays moist. If you lower the temperature, the skin will never get that desirable crunch.
Why Your Nose Knows Best
The aroma of seared chicken is a powerful indicator that you’re on the right track. When the chicken releases a rich, nutty scent, it means the Maillard reaction has kicked in. If the smell is faint, the pan wasn’t hot enough. Trust your nose—if it smells like toasted almonds, you’re good to go.
The 5‑Minute Rest That Changes Everything
After removing the chicken from the oven, let it rest for 5 minutes. This allows the juices to redistribute, ensuring every bite is succulent. Cutting into the meat immediately will cause the juices to spill out, leaving the interior dry. A short rest is a simple step that elevates the entire dish.
Use Fresh Herbs for a Bright Finish
Adding fresh parsley or cilantro at the end of cooking adds a burst of color and a refreshing flavor that cuts through the richness. If you’re in a pinch, dried herbs will work, but they won’t provide the same vibrancy.
Don’t Skip the Water Splash
That splash of water during roasting isn’t optional—it’s the secret to juicy thighs. The steam keeps the meat moist while the high heat creates a caramelized crust. Skipping it will result in a dry, over‑cooked texture.
Serve with a Tangy Side
Pair the chicken with a bright, acidic side like a lemon‑yogurt cucumber salad. The acidity balances the sweetness of the BBQ and the richness of the ranch, creating a harmonious plate. My friend once tried the dish with plain rice and complained it felt heavy; the salad fixed that.
Creative Twists and Variations
This recipe is a playground. Here are some of my favorite ways to switch things up:
Smoky Chipotle Variation
Swap the standard BBQ sauce for a chipotle‑infused version. Add a tablespoon of chipotle in adobo for an extra kick. This version is perfect for those who love heat and depth.
Honey‑Garlic Glaze
Replace the ranch with a honey‑garlic glaze. Mix honey, minced garlic, and a splash of soy sauce. This sweet and savory combo works wonderfully with the chicken’s natural juices.
Herb‑Infused Yogurt Sauce
Instead of ranch, whisk plain Greek yogurt with dill, parsley, and lemon zest. The tangy yogurt offers a lighter, healthier alternative while maintaining that creamy texture.
Spicy Cajun Twist
Use a Cajun seasoning blend in the dry rub. Add a pinch of cayenne to the sauce for a fiery finish. This version is ideal for summer cookouts.
Vegan Version
Replace the chicken with marinated tofu or tempeh. Use a plant‑based BBQ sauce and a dairy‑free ranch alternative. The result is a hearty, flavorful dish that satisfies even the most dedicated carnivores.
Breakfast Breakfast
Serve the thighs on a toasted English muffin with a fried egg for a brunch‑style meal. The smoky, creamy chicken pairs beautifully with the runny yolk and buttery bread.
Storing and Bringing It Back to Life
Fridge Storage
Store leftovers in an airtight container in the refrigerator for up to 4 days. The sauce will thicken, so let the chicken rest at room temperature for 10 minutes before reheating to restore moisture.
Freezer Friendly
Freeze the cooked thighs in a freezer‑safe bag for up to 3 months. Thaw overnight in the refrigerator before reheating. The texture remains tender and flavorful.
Best Reheating Method
Reheat in a skillet over medium heat, adding a splash of water or broth to keep the meat juicy. Finish with a quick brush of sauce and a sprinkle of fresh herbs. The chicken will regain its original succulence.